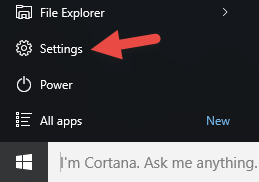
I had some fun getting to the bottom of this error and I found some potential issues that can cause this error to pop up that might not be apparent. We had the Azure AD user account configured for Azure AD Join and the user was not over the limit of devices they could enroll (default 5). We wanted to enroll the device into Intune using the following procedure. First open the Settings menu from the Start menu.
Select Accounts.
Then select Work access and notice the error under Enroll in to device management.
What we did run into is two items that were generating the error.
- Don't perform Azure AD Join with the default administrator account.
- To enroll in Intune make sure the user performing Azure AD Join on the device is a local administrator.
Also make sure the machine is not domain joined and when the user enrolls the device into Azure AD they do not become a local administrator unless they were one to begin with. If the proper conditions are met the device enrollment dialog should have a plus sign to begin the enrollment process.
You will be asked to supply your Azure AD logon ID then click Continue.
Put in your password then click Sign in.
If two factor authentication is set up the follow page will appear. Select Set it up now to continue.
In this example I set my country to Canada then configured the system to send me a text message to the phone number I have configured previously for two factor authentication. I will click Contact me to continue the verification process.
I will enter in the security code sent to my cell phone then click Verify.
Now that I am authenticated I can select Done to complete the process.
You should now see your enrollment details in the Settings menu.
Hope this helps your experience go
a little more smoothly.